It usually starts with one of those questions. Why do we need worms? It’s much easier to understand and even appreciate worms when you get little hands dirty. Enjoy these hands-on activities when you observe worms with preschoolers!
Create a Wormery
I came across a wormery craft from Karrie McAllister and knew this is what we needed to make. Don’t worry, these worms are contained and quite easy to take care of. You probably already own all the materials needed to make this worm house.
Worm House Supplies:
1 clean 2 liter plastic bottle
1 plastic water bottle filled with room temperature water
scissors
tape
dark construction paper
soil
sand
dried leaves or hay
oatmeal
First remove the top of the bottle. Use tape to cover the edges as they might be sharp. We don’t want any fingers or worms to get hurt.
Place a water bottle in the middle of the pop bottle. This is to force the worms to move to the outside of the bottle, instead of hiding in the middle. Make sure the bottle is filled with room temperature water. Next go outside and fill the container. Start with a layer of sand, then a layer of soil. You can also add a layer of dry leaves or hay. Alternate layers until the bottle is 3/4ths filled.
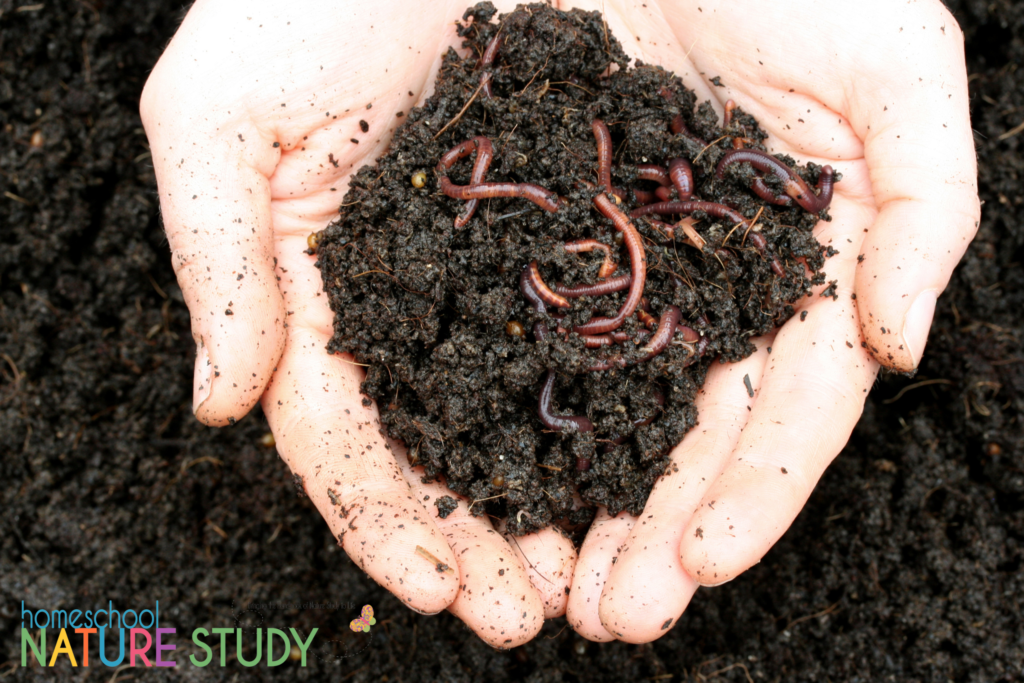
Now the hunt begins. Ask your child where they think the best place to find worms would be. Let them explore and see how many they can find. My 3yr. old found a couple worms in the garden, but found even more under rocks and planters. We gathered our handful of worms and placed them in our homemade worm home.
Make sure the soil is damp, but not wet. Add some dry leaves or hay along with oatmeal crumbs.
Wrap a piece of black construction paper around the bottle. Let it sit for a day or two before removing the paper. While you are waiting, take some time to read a couple books on worms!
We started our worm study all because of a question my child asked.
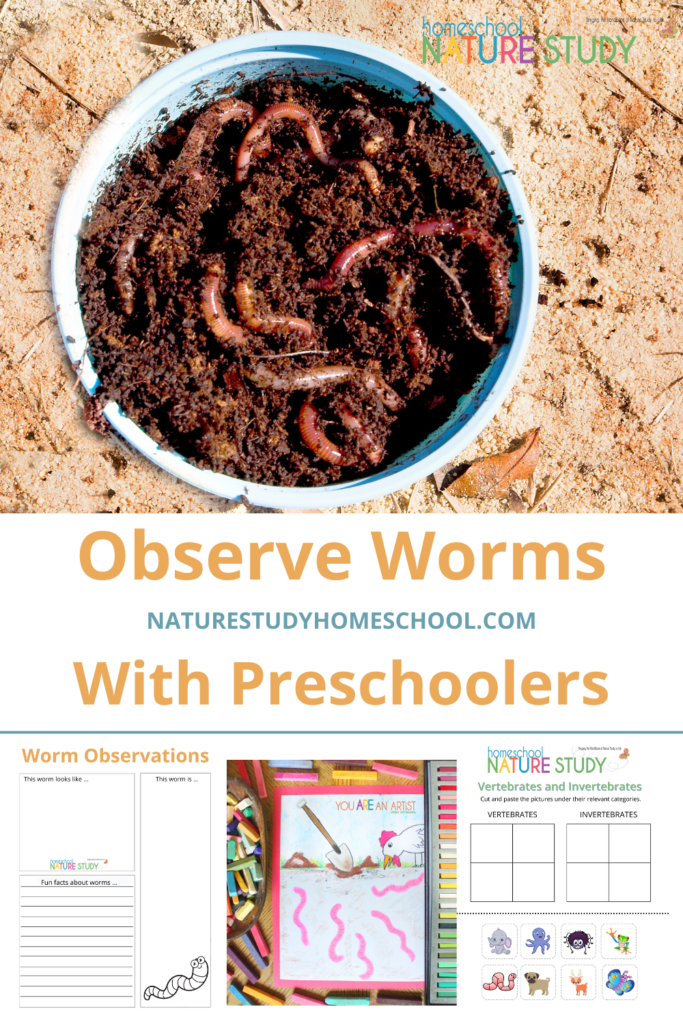
Observe Worms with Preschoolers
This is what we saw the first time we removed the black paper from our worm house (wormery.) It was like a big I Spy worm bottle! We were able to see the worm burrows and how some of the layers of dirt and sand were mixed together. It was hard to get a good view of the worms though since they were covered in dirt, so we went back outside to find a couple more worms for up-close observation.
We needed to find a couple bigger worms. My 3yr. old and I went on another worm hunt. I asked if she remembered where we found the worms last time (under rocks and in the garden.) We talked about how those places were dark and damp–just how worms like their environment to be. It was a challenge, but we finally found a couple of big worms. (You could purchase them at a bait store too.)
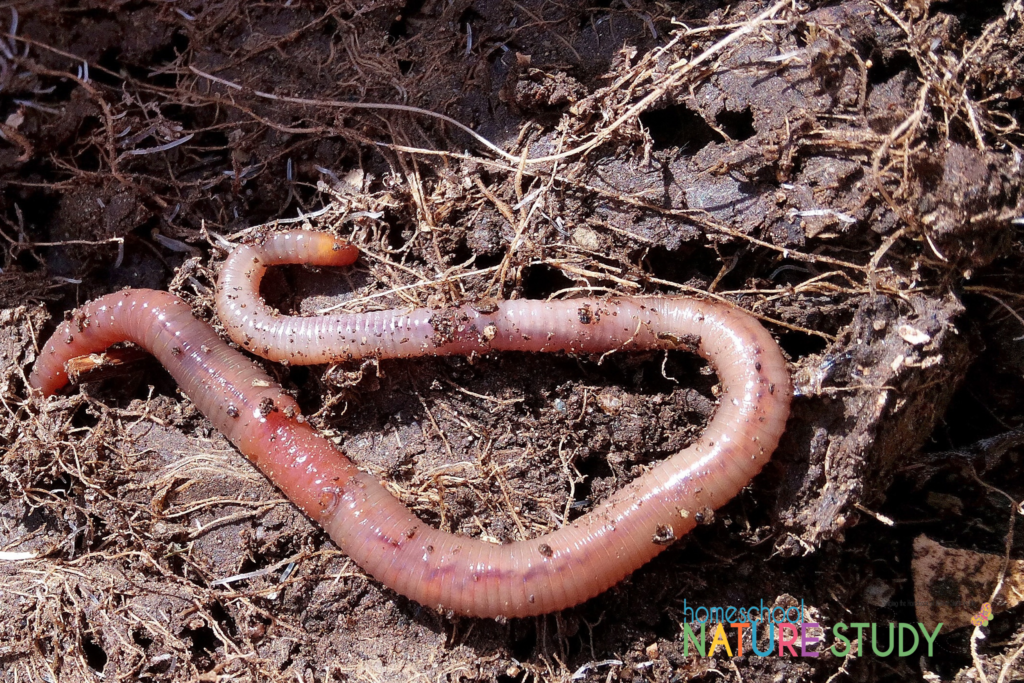
Now we could really see the worm. I encouraged my daughters to touch the worm. How did it feel? What else is special about a worm? Do you see the lines on the worm? Those ringed parts are called segments. Which end do you think is the worm’s head?
Next I placed a gummy worm next to the real worm. I asked my daughters the same questions. Touch the gummy worm. How does it feel? Are these worms different? My point with this observation activity was to notice similarities and differences, and talk about living and non-living things.
After observing the worms, we did a worm experiment. We wanted to find out which type of environment the worm preferred— the dry paper towel or the wet paper towel. Position the worm so that it is across both halves of the towel. Sit and watch! Record the results. Try it again. Did you get the same result? What happens if you flip the worm around? Do you get the same results?
We recorded our worm observations on the Worm Observations Worksheet. Homeschool Nature Study Members can print this from your dashboard.
Vertebrates vs Invertebrates
Another great conversation to have with young children when observing animals is to ask the simple question, “Do you think they have a back bone? What would it look like if we didn’t have a back bone? Do they have a skull? Do they have bones?”.
Homeschool Nature Study Members can print the Vertebrates vs Invertebrates Worksheet. Cut out the animals and glue them under the correct category. Then act out how a worm moves without leg bones.
Worm Chalk Art
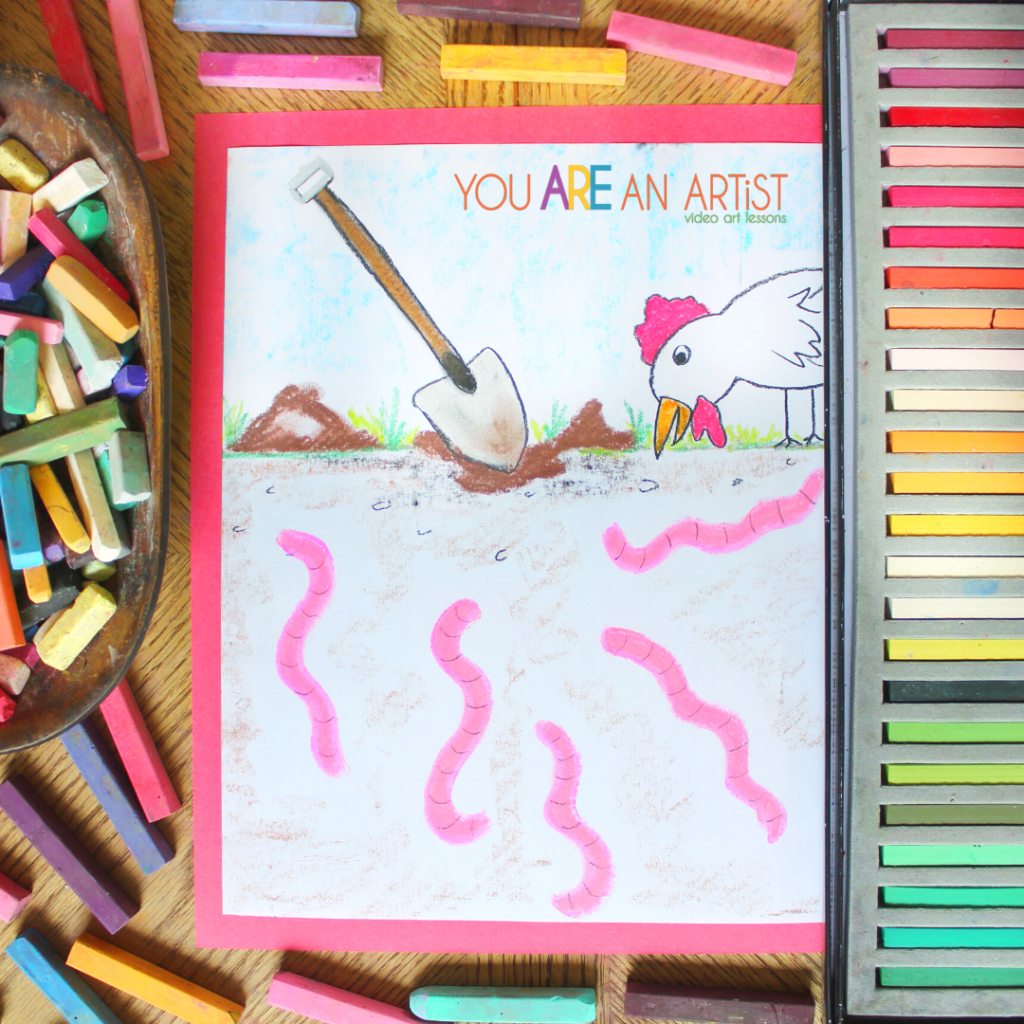
Head over to You Are An Artist & find this great Farm Art & worms chalk masterpiece. Enjoy the time together and get your hands dirty – soil or chalk – observe worms with preschoolers!
Homeschool Nature Study Membership
Join us for even more homeschool nature studies for all the seasons! With a nature study each week, you will have joyful learning leading all the way through the homeschool year for all your ages!
Not yet a Homeschool Nature Study Member? We’d love for you to join us and take advantage of the numerous studies – already planned out for you, craft ideas, free worksheets, and #outdoorhourchallenge fun! Become a member and bring the love of learning nature and science easily into your home.
Be inspired. Be encouraged. Get outdoors!
Written by Maureen Spell. Updated and new resources created by Stef Layton.